yoderjac
5 year old buck +
I have not had much luck starting trees from green cuttings. I've done ok with dormant cuttings from easy to root plants like yellow twig dogwood and elderberry, but I've really had not success with green cuttings. I've even tried a "cloning machine" (subterranean irrigation). I understand some mulberry varieties root easily and other don't. I got a few mulberry trees and planted them in the field last year. They were still green and actively growing and I tried to start some of those cuttings without success. I was doing some reading online and some folks are having success with misting.
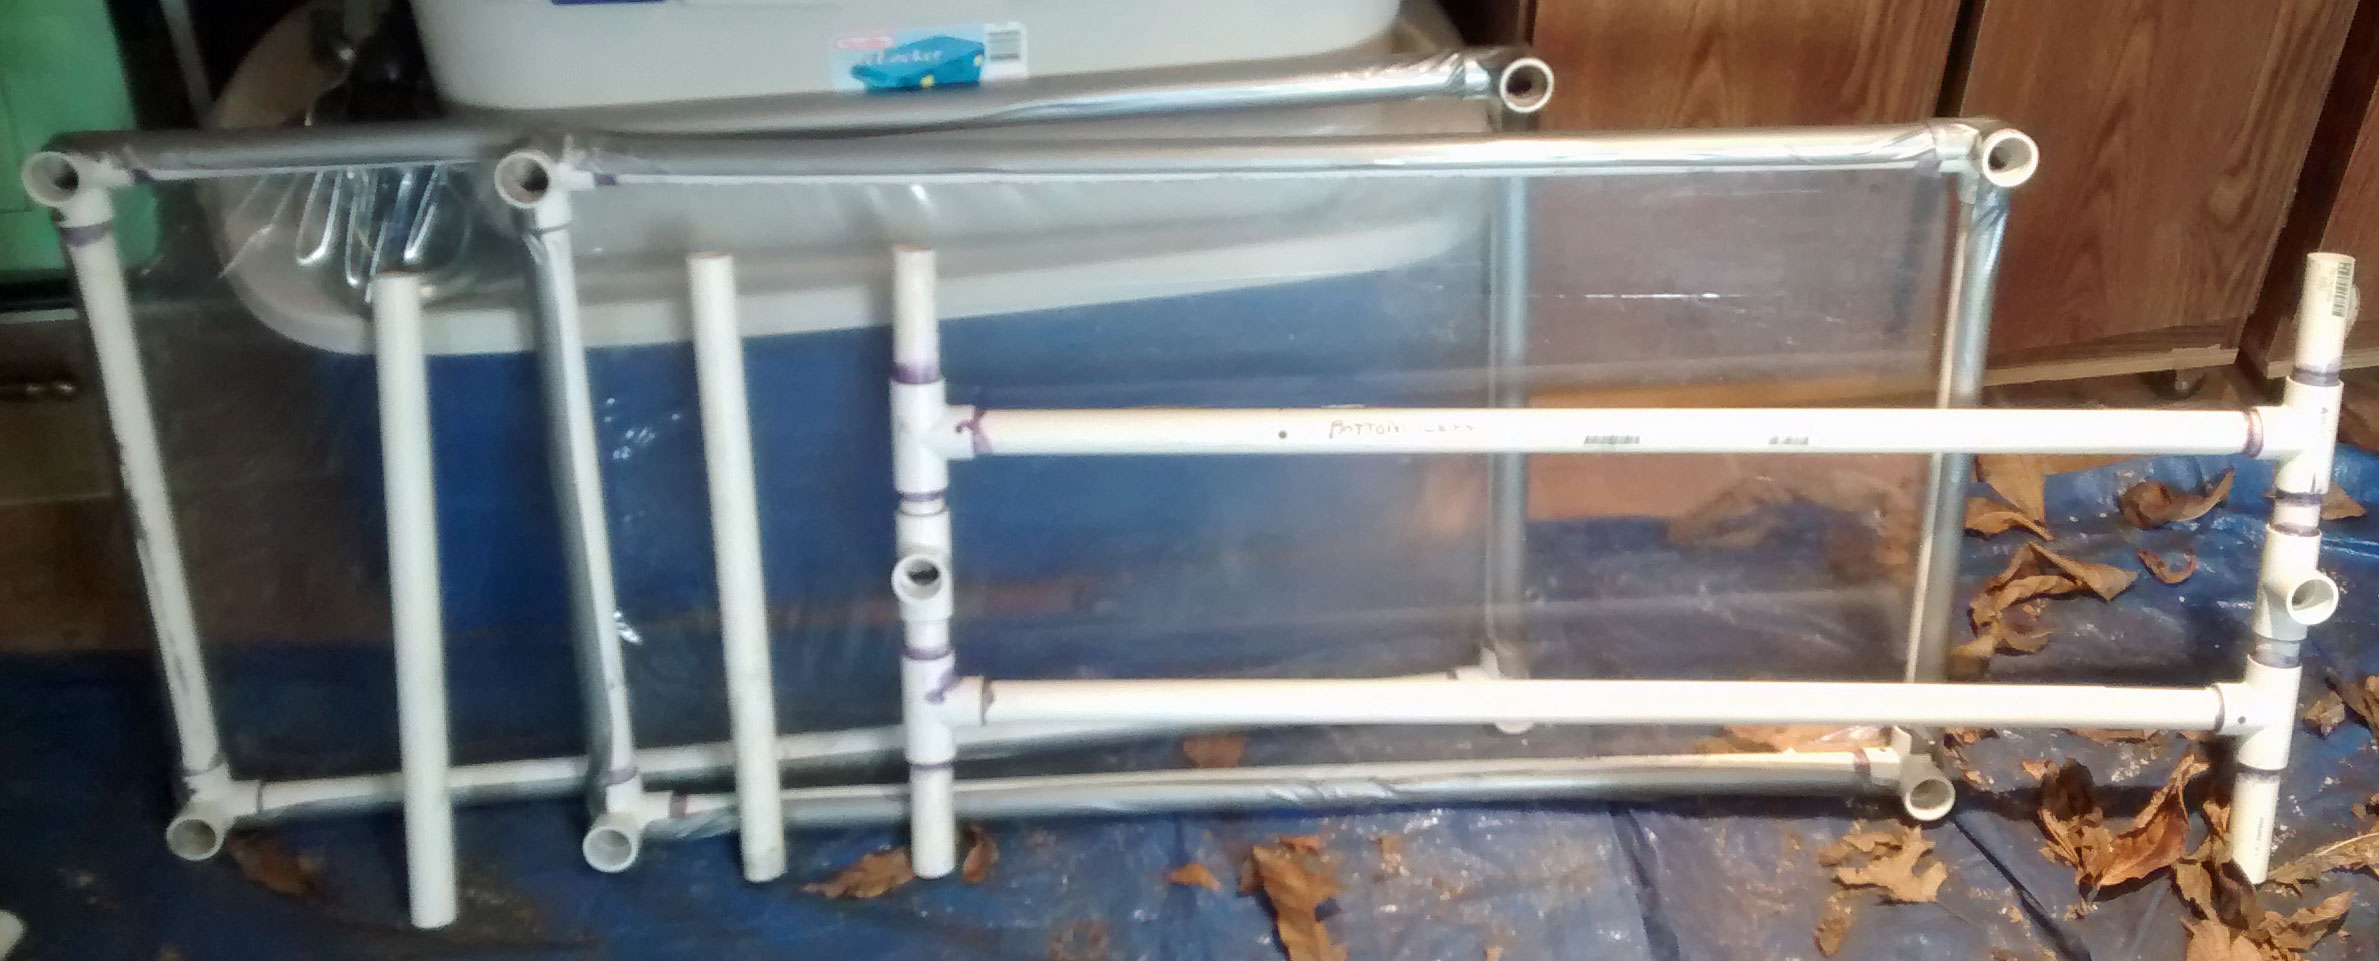
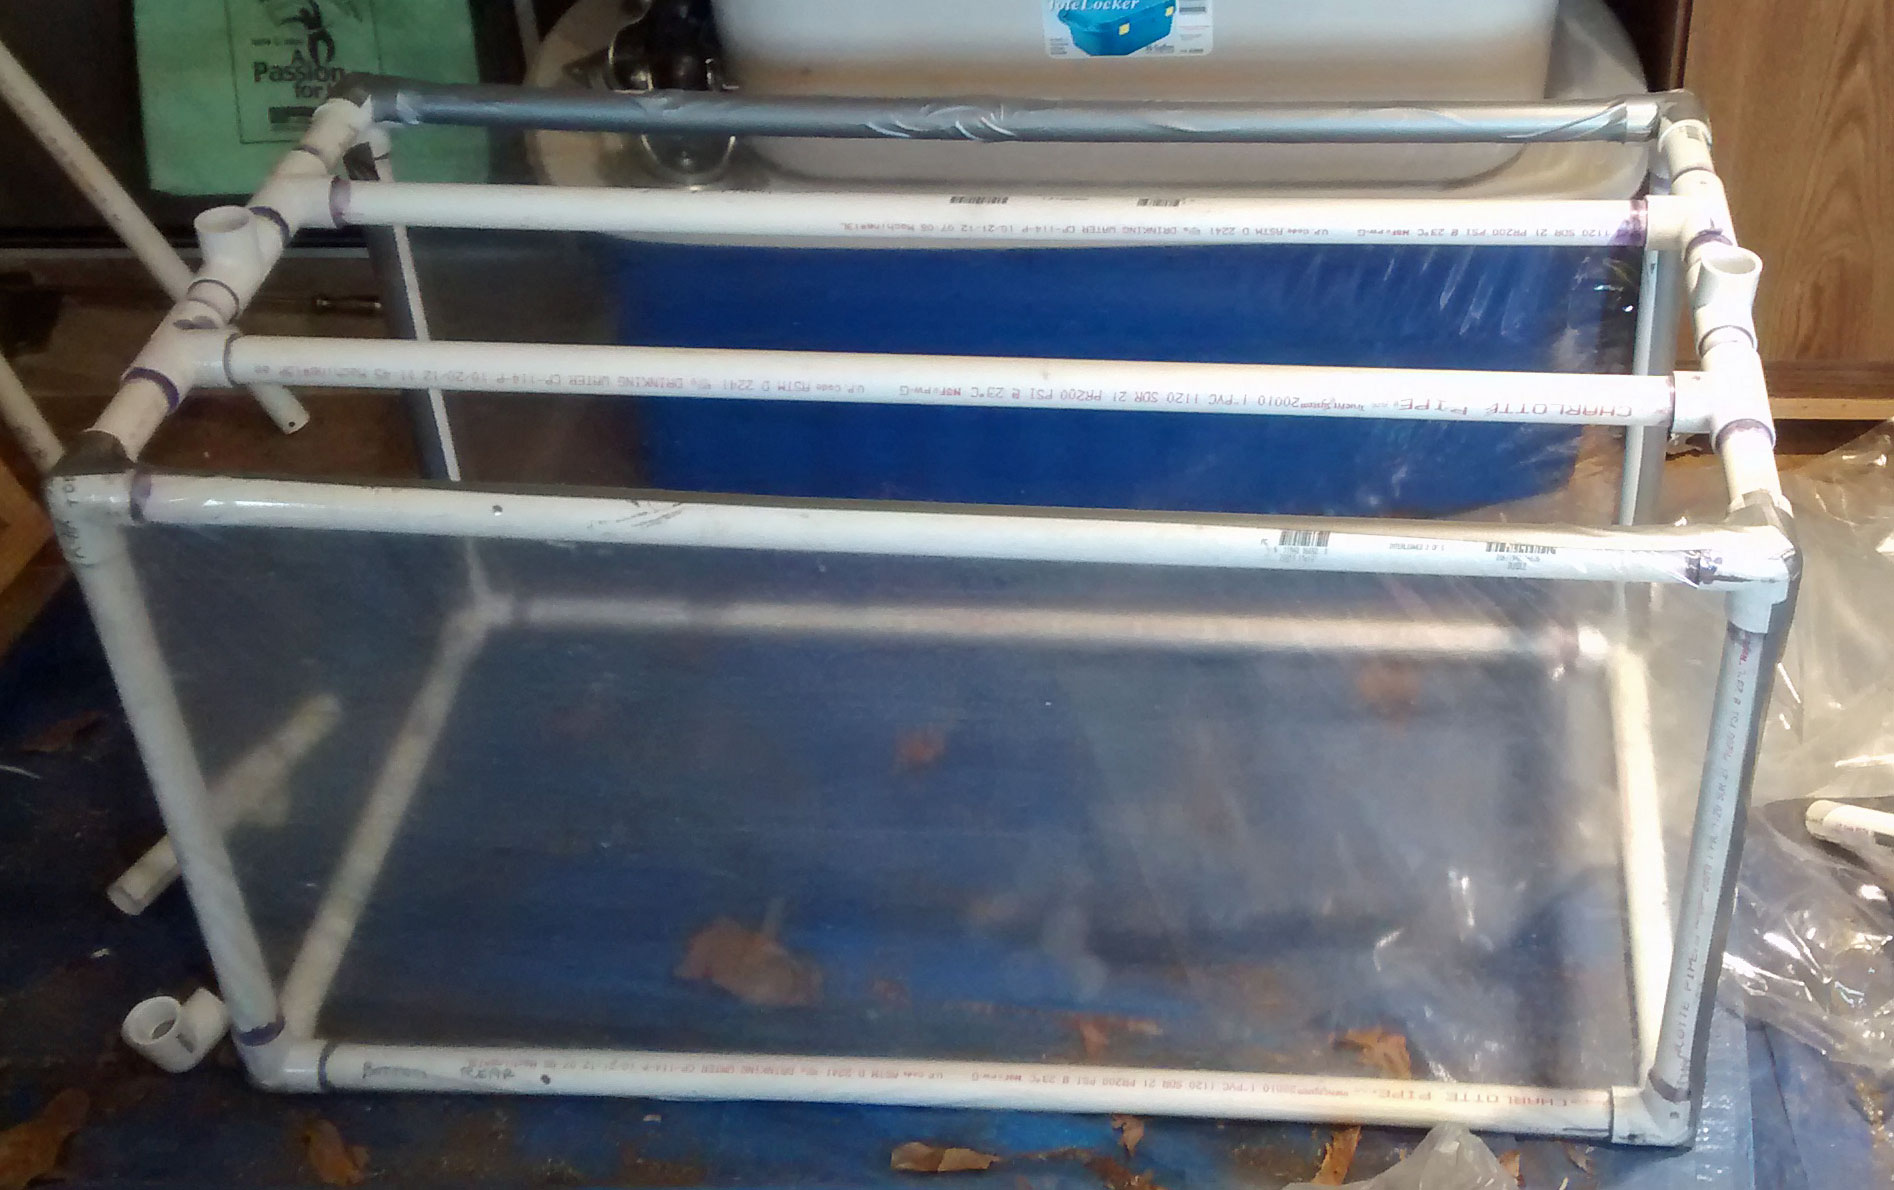
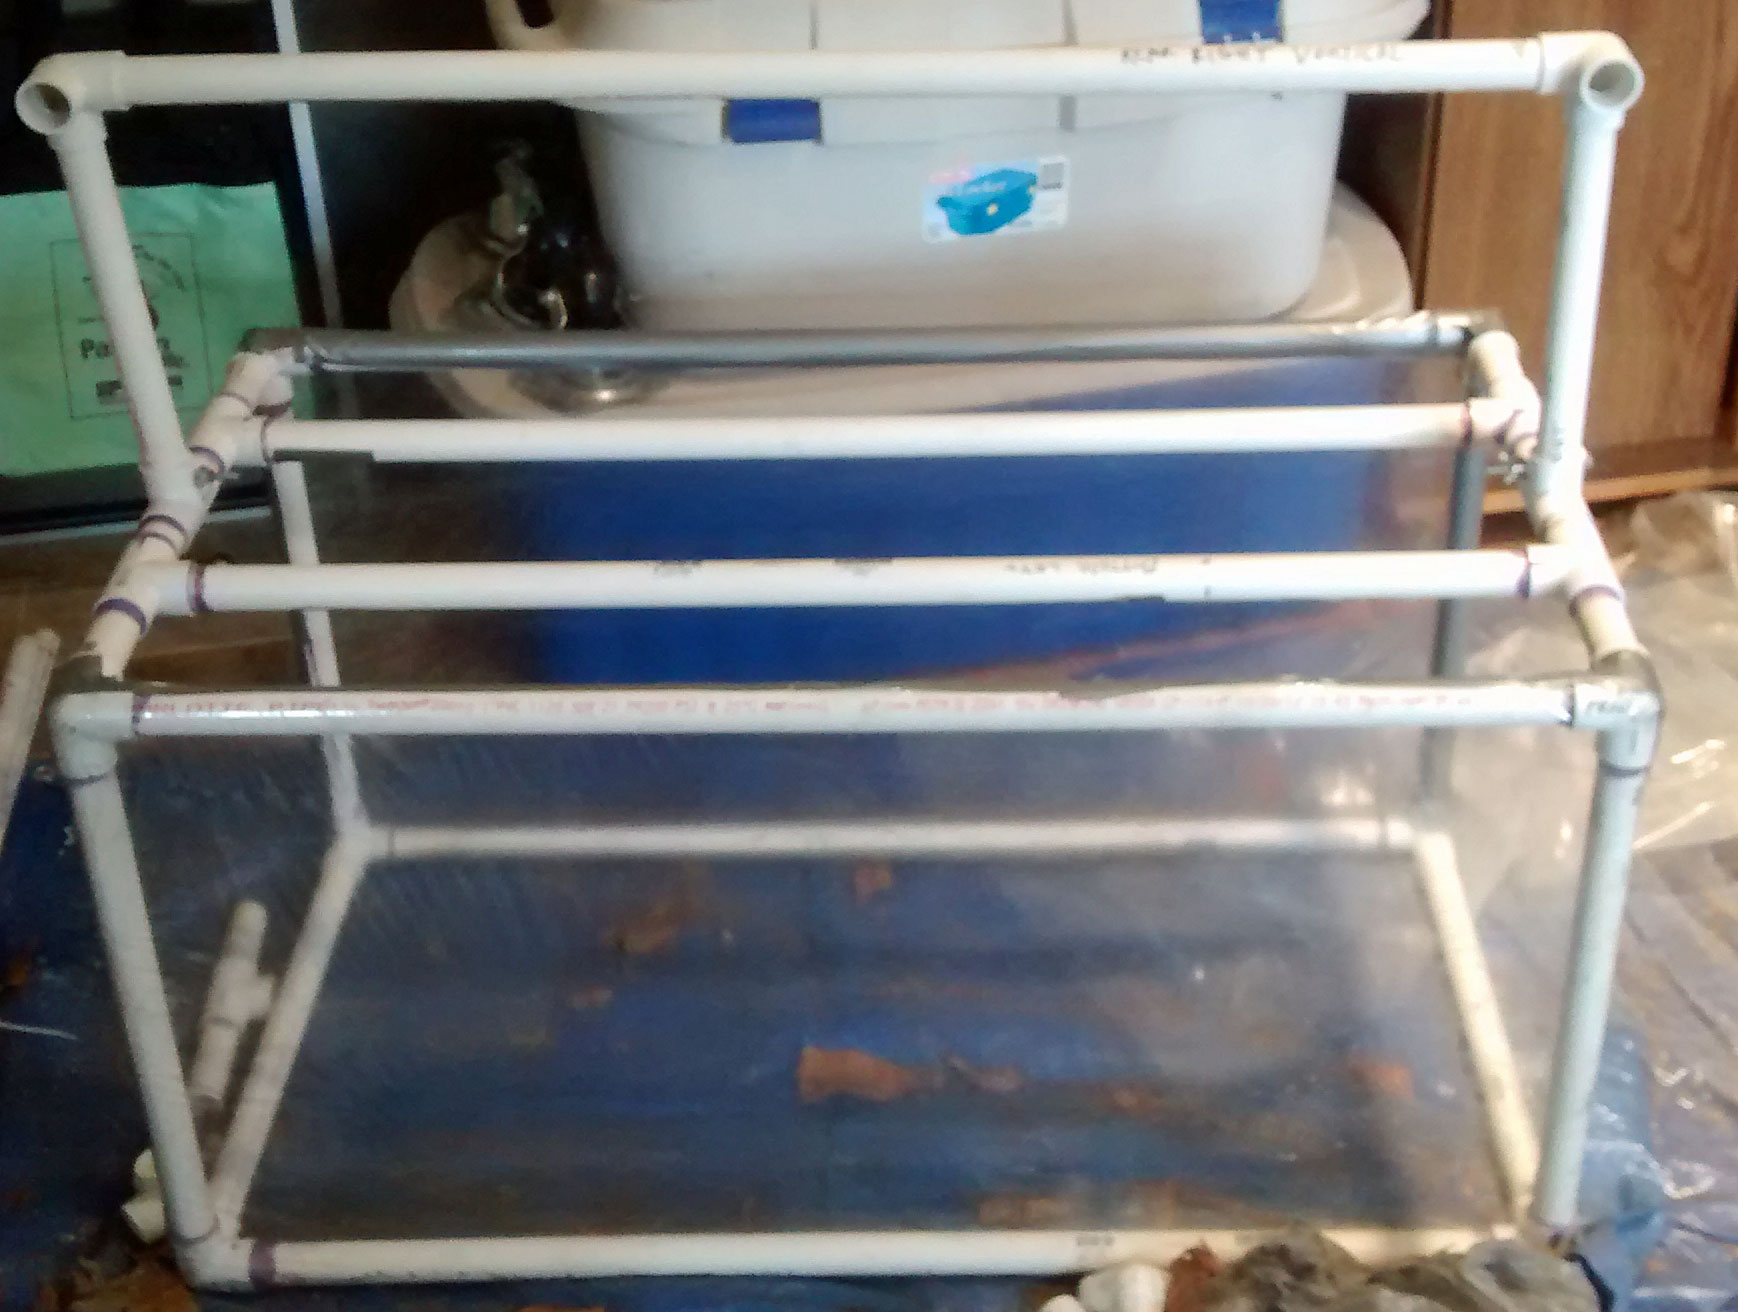
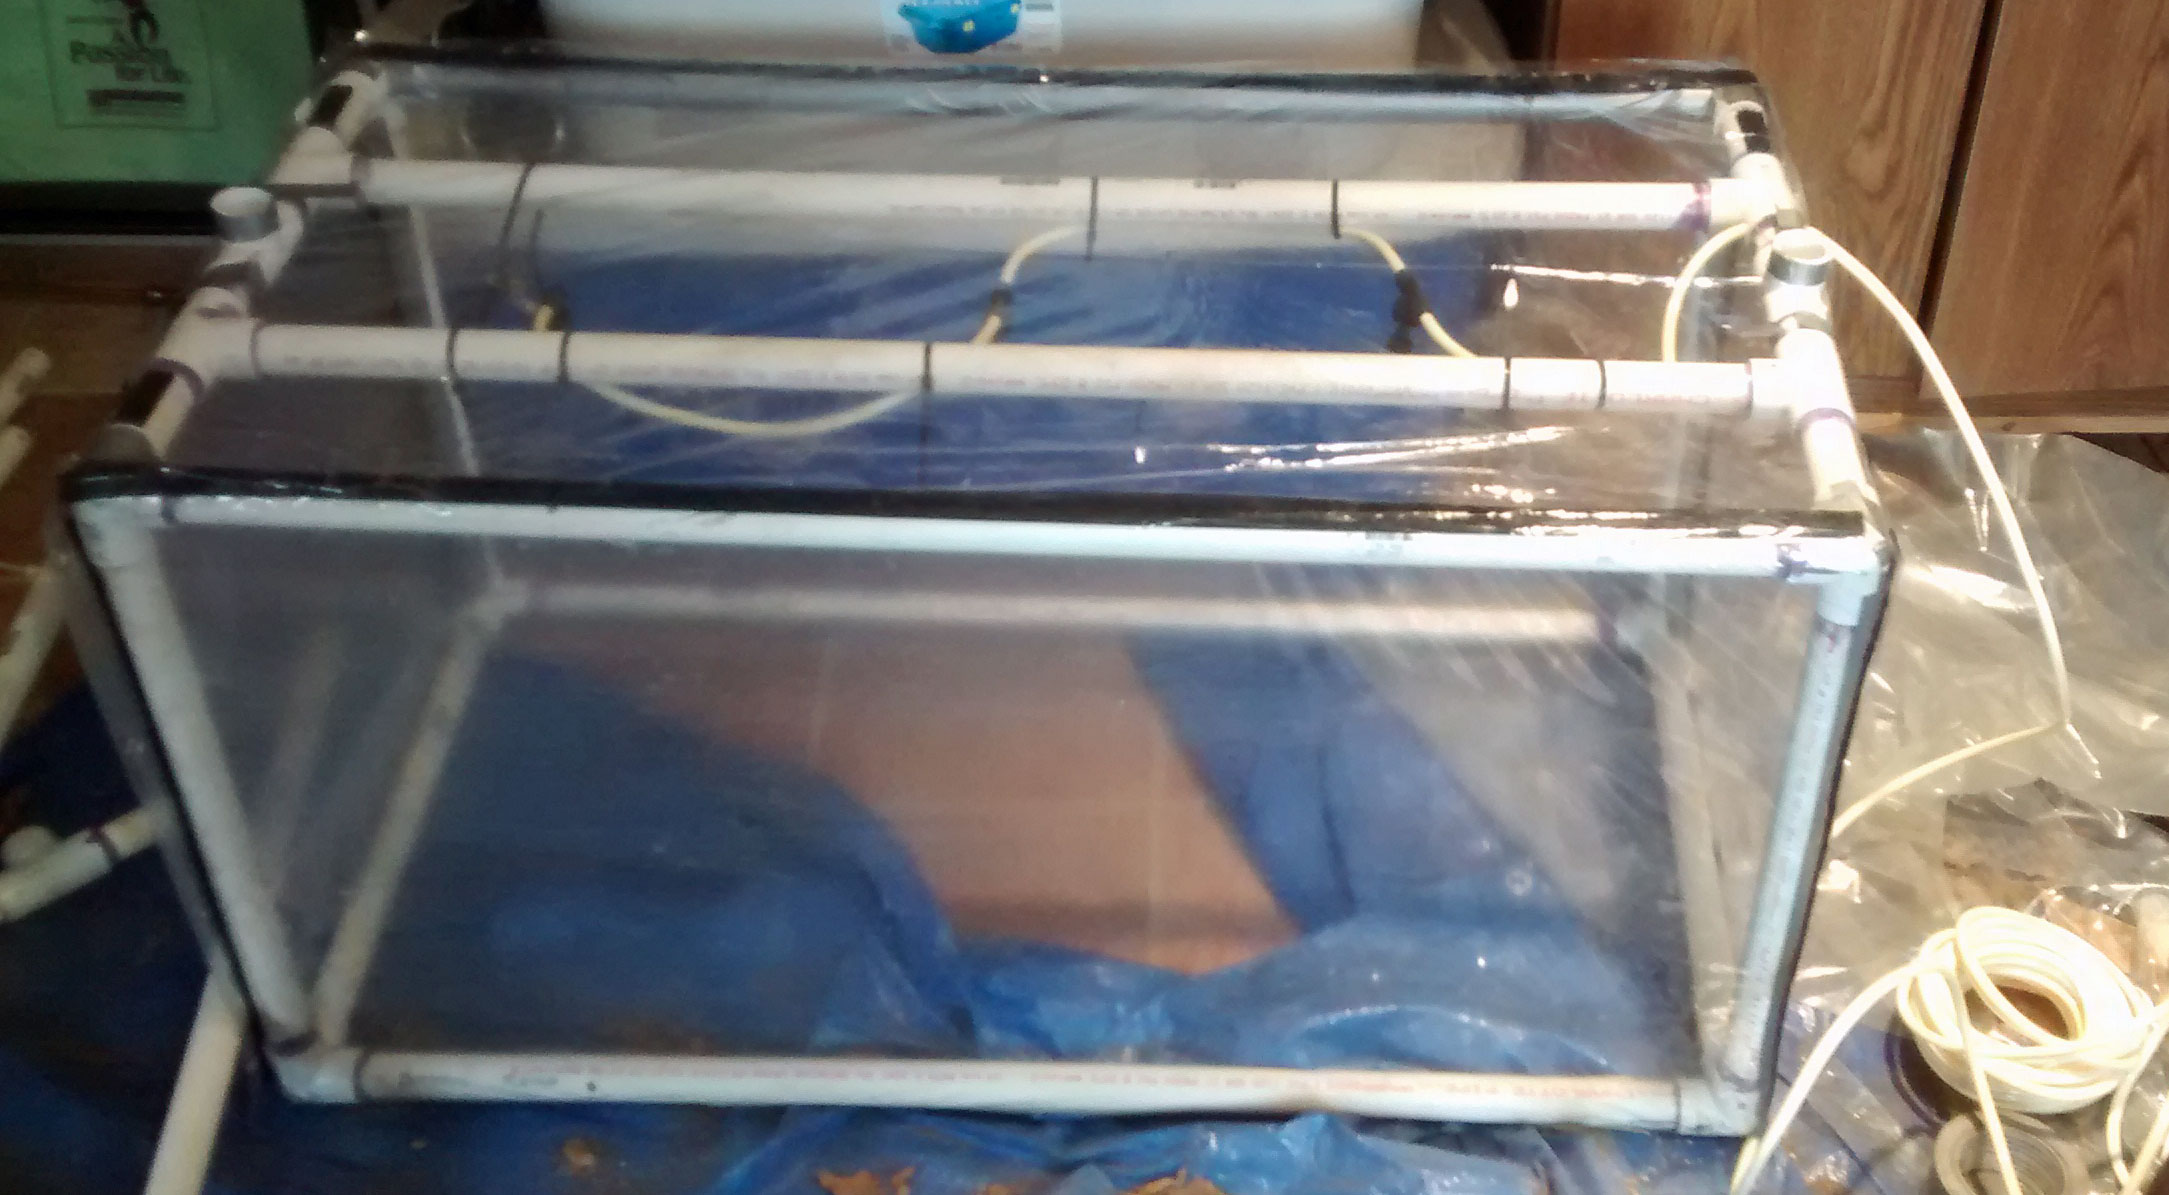
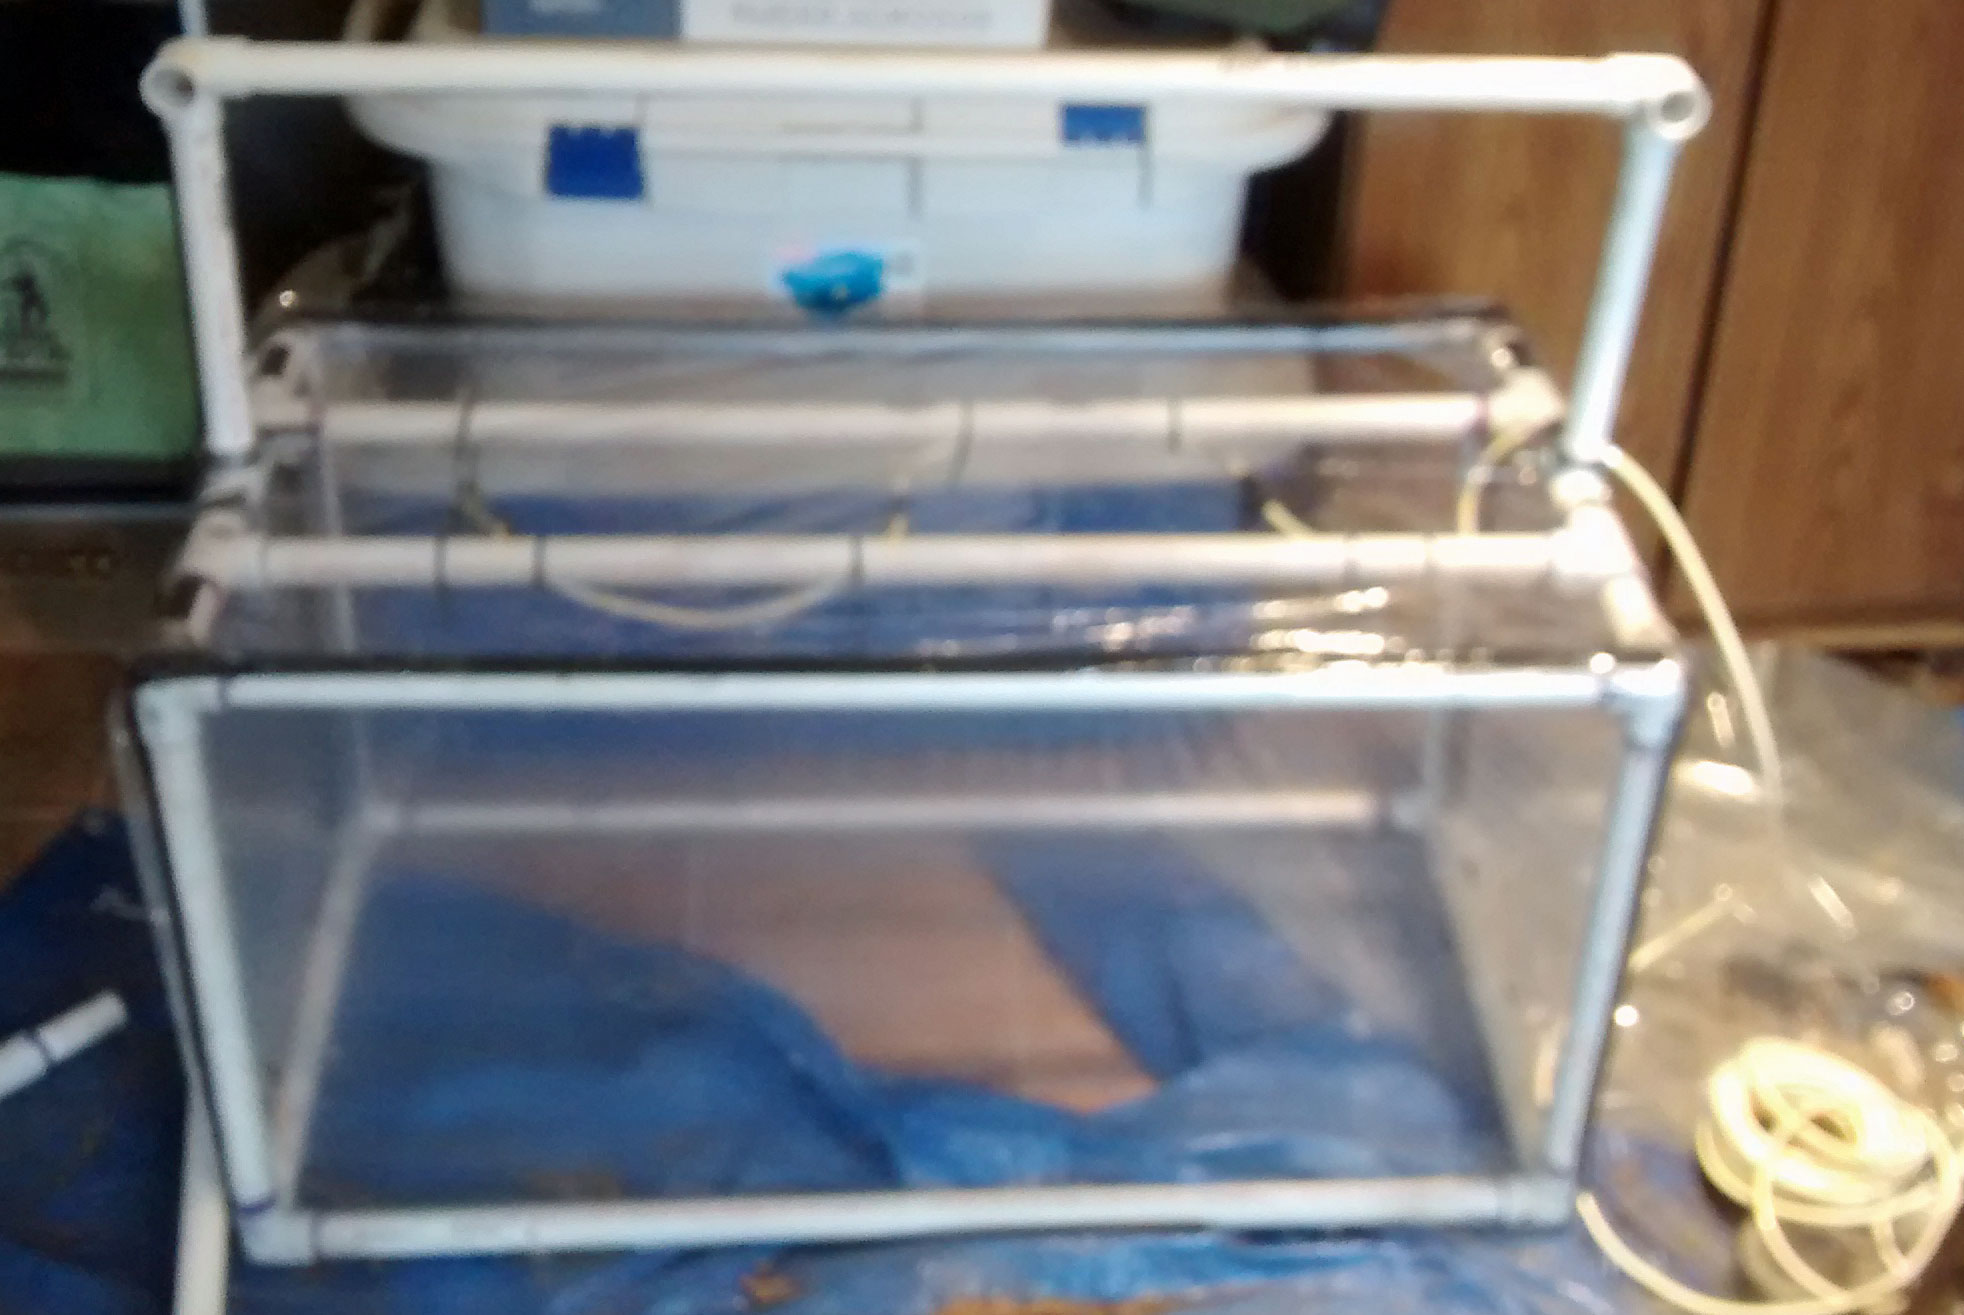
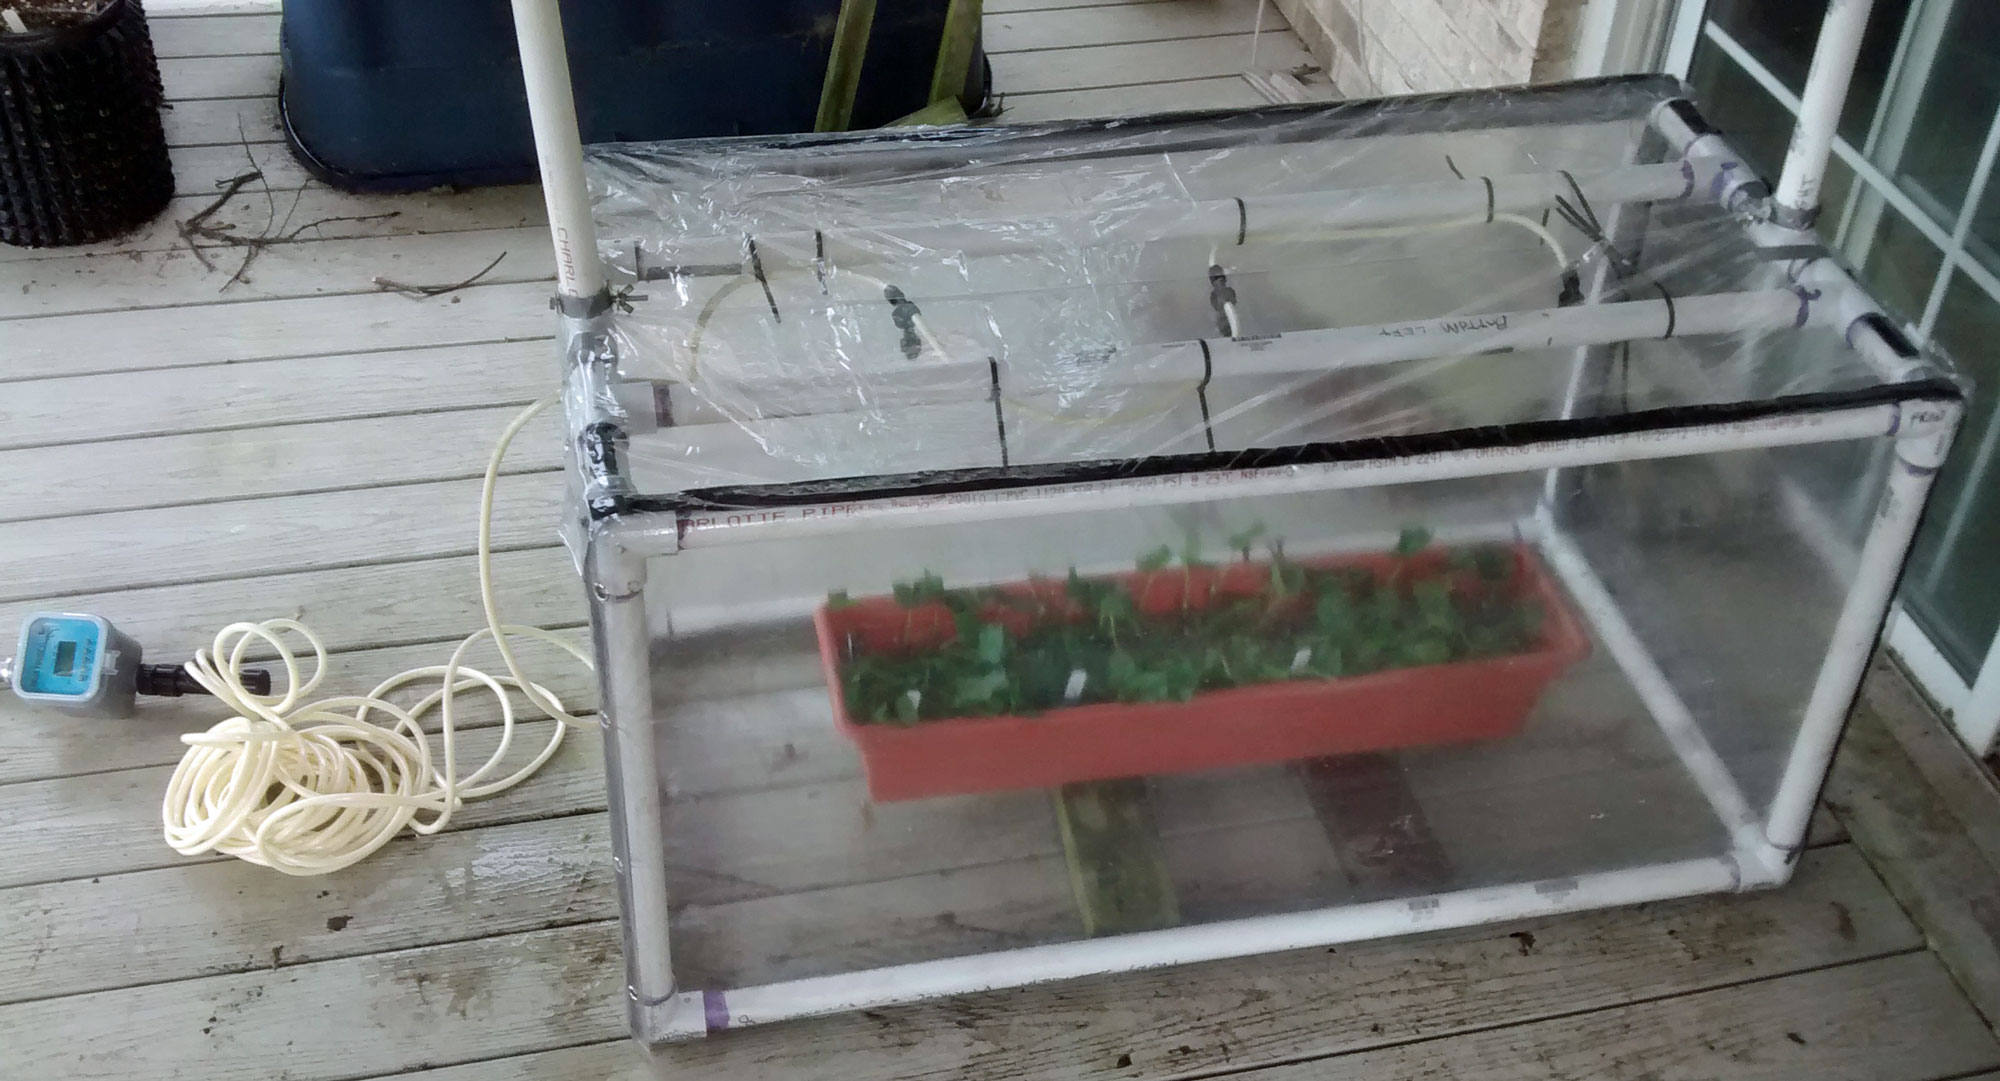
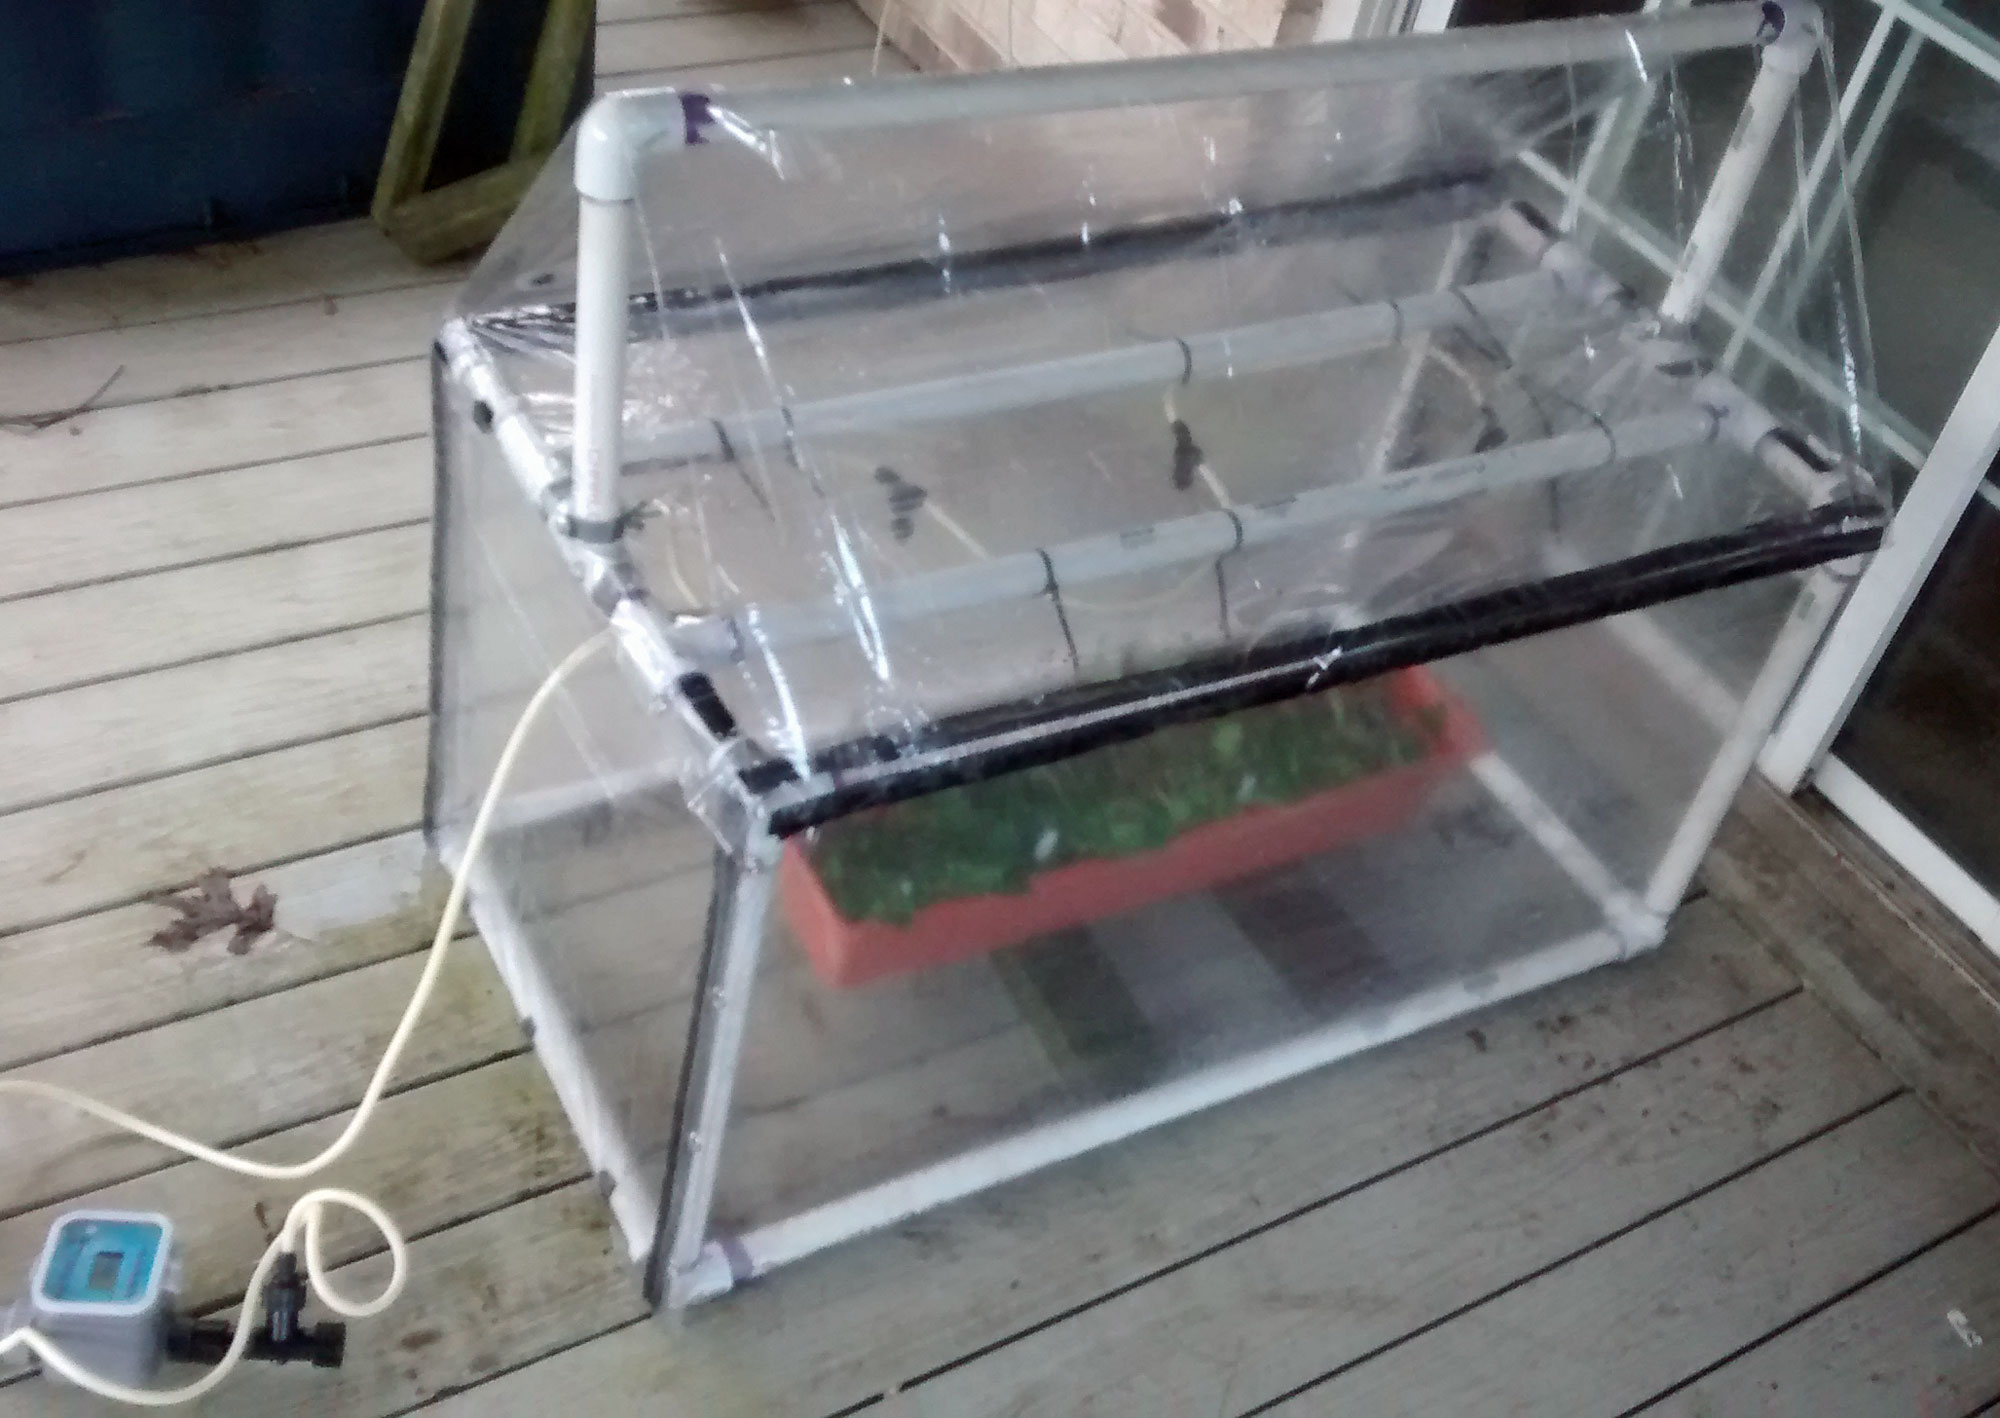
When I first started growing chestnuts from nuts years ago, I experimented with different kinds of indoor growing areas. One large one, I don't use anymore so I had plenty of pvc that I could repurpose. My current plan is to build a small enclosure out of PVC and cover it with a clear shower curtain. I'll put it on my lower deck that gets a few hours of direct morning sun followed by filtered sun for the rest of the morning and shade in the afternoon.
I just ordered a misting system. It consists of a timing unit that can control watering down to a few minutes, some misting nozzles, and some tubing and connectors. I plan to run the tubing with misting nozzles along the inside top of the enclosure. I was thinking of running it so it mists for 30 seconds every 10 minutes or so.
I'll post some pictures as things progress. Has anyone built one of these? Any success with starting green cuttings this way?
Thanks,
Jack